How to check and change your RDP encryption level
Encryption is a key part of RDP's security posture. Here's how to configure it.

Encryption is a key part of RDP's security posture, helping to ensure that connections between clients and hosts are not spied on or tampered with. There are three different "levels" of RDP encryption, and it may be worth checking which you are running:
- High encryption: This 128-bit encrypts data sent between the server and the client and the client and the server.
- Client compatible encryption: Encrypts data between the server and the client at the strongest level the client supports.
- Low encryption: Uses very weak 56-bit encryption. This is not recommended.
- FIPS compliant: All data between the client and server is protected using Federal Information Processing Standard 140-1 validated encryption methods.
How to check your RDP encryption level
If you're unsure what encryption level your RDP server is using, the easiest way to check is through the group policy editor. Here's what the full process looks like:
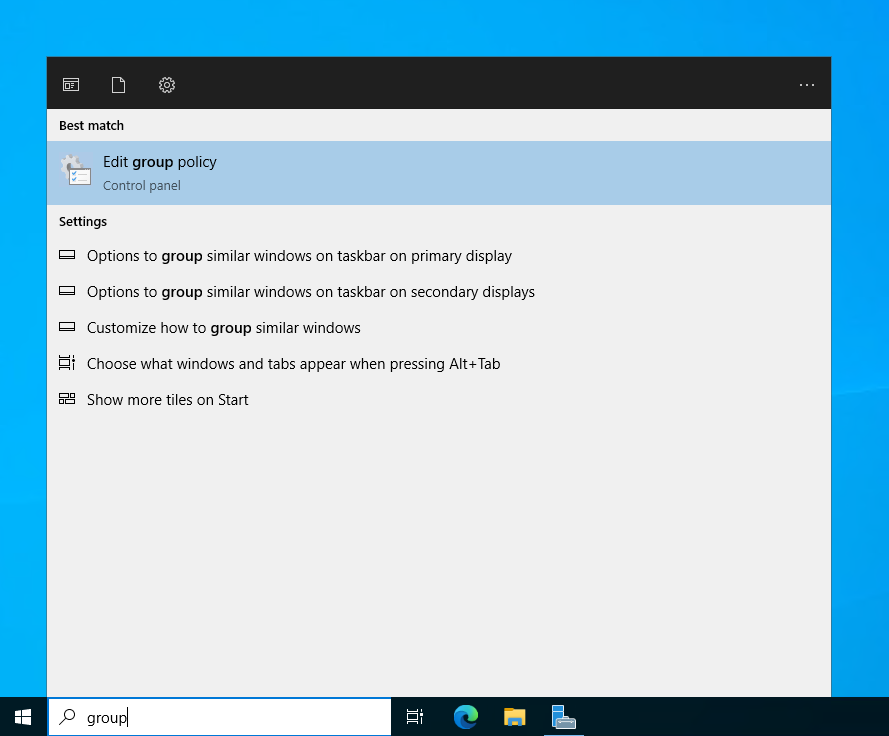
- Click the search bar and type "group policy editor". Open it.
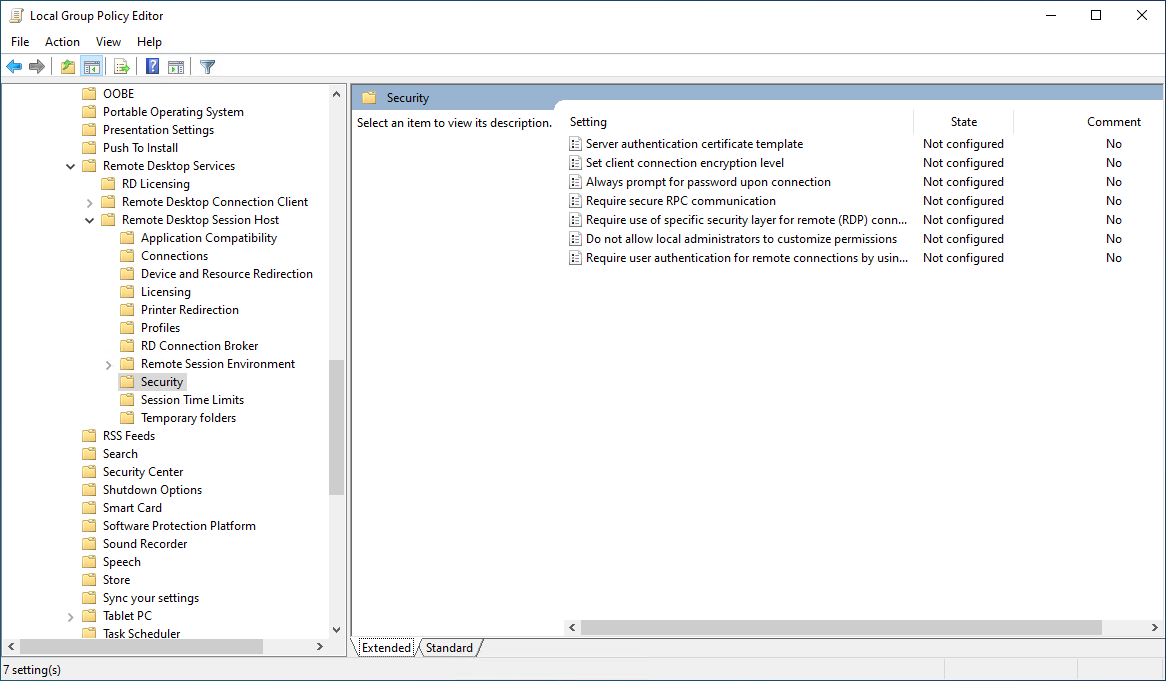
2. Go to "Computer configuration > Windows components > Remote Desktop Services > Remote Desktop Session Host > Security" and check the "State" field next to "Set client encryption level". If the setting is "Not configured", then your encryption level is the default, which is "Client compatible".
How to change your RDP encryption level
If you want to increase or decrease your current encryption level, the group policy editor is still your go-to:
- Click the search bar and type "group policy editor". Open it.

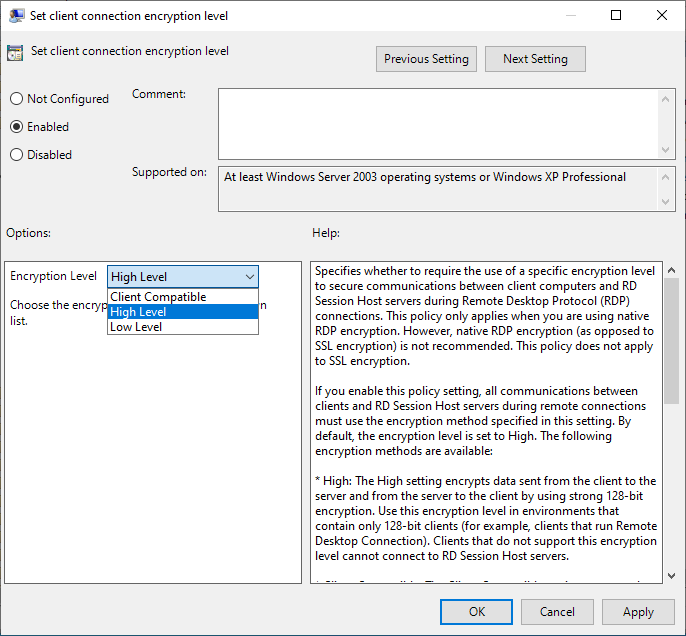
2. Go to "Computer configuration > Windows components > Remote Desktop Services > Remote Desktop Session Host > Security". Double-click on "Set client encryption level".

3. Select "Enabled" and choose the relevant option in the "Encryption Level" dropdown below.
Forcing TLS RDP encryption
There is one final RDP encryption option available that is not controlled by the above group policy: TLS. This generally provides stronger security and it is better to rely on this than falling back to default RDP security. We can go again to the group policy editor to force TLS:
- Click the search bar and type "group policy editor". Open it.
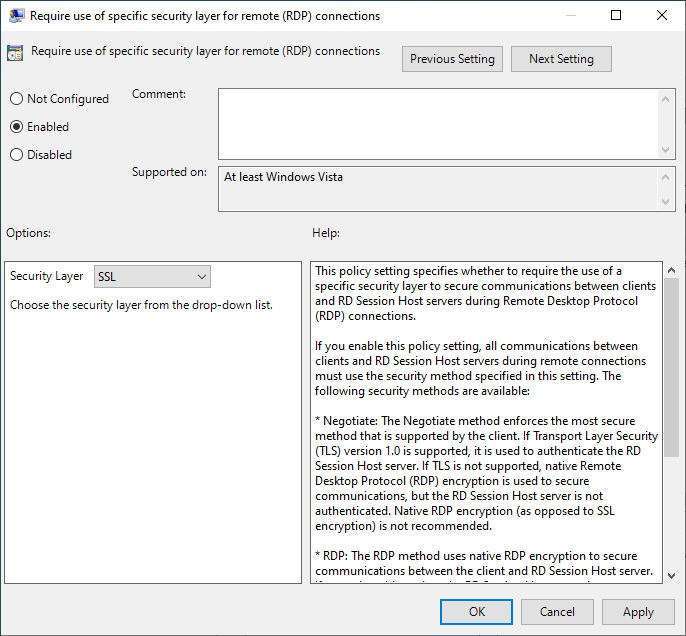
2. Go to "Computer configuration > Windows components > Remote Desktop Services > Remote Desktop Session Host > Security" and double-click "Require use of specific security layer for remote (RDP) connections.
3. Select "Enabled" and then choose "SSL" in the security layer dropdown below.
That's it! To improve the security of your server further, see: