How to create a TeamSpeak server on your Windows RDP server
TeamSpeak may be old, but it holds one of the most efficient voice protocols in the industry. Here's how to install it step-by-step.

TeamSpeak is two decades old now, but don't let that fool you. While there are popular modern alternatives like Discord, TeamSpeak holds several advantages, including a proprietary, efficient voice protocol and the ability to self-host.
Self-hosting is naturally more involved, but it brings several benefits. Users don't have to hand their data over to a large company, and that company does not have control over what they can and cannot post in their own server. You also don't have to rely on someone else to keep your server maintained, secure, and online.
Thankfully, though self-hosting requires more maintenance, setting up a TeamSpeak server on a Windows RDP VPS is still very easy. Here's the step-by-step process:
How to Set up a TeamSpeak 3 Server on Windows
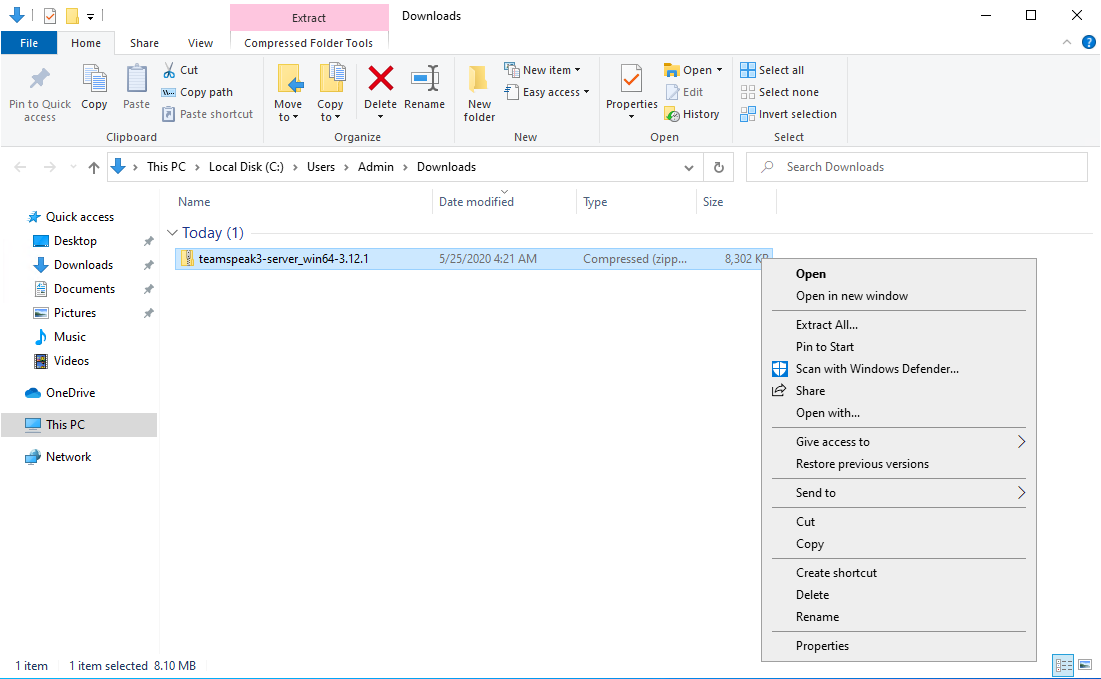
- Download the official 64-bit server files here. Right-click the download .zip file and press 'Extract All'.
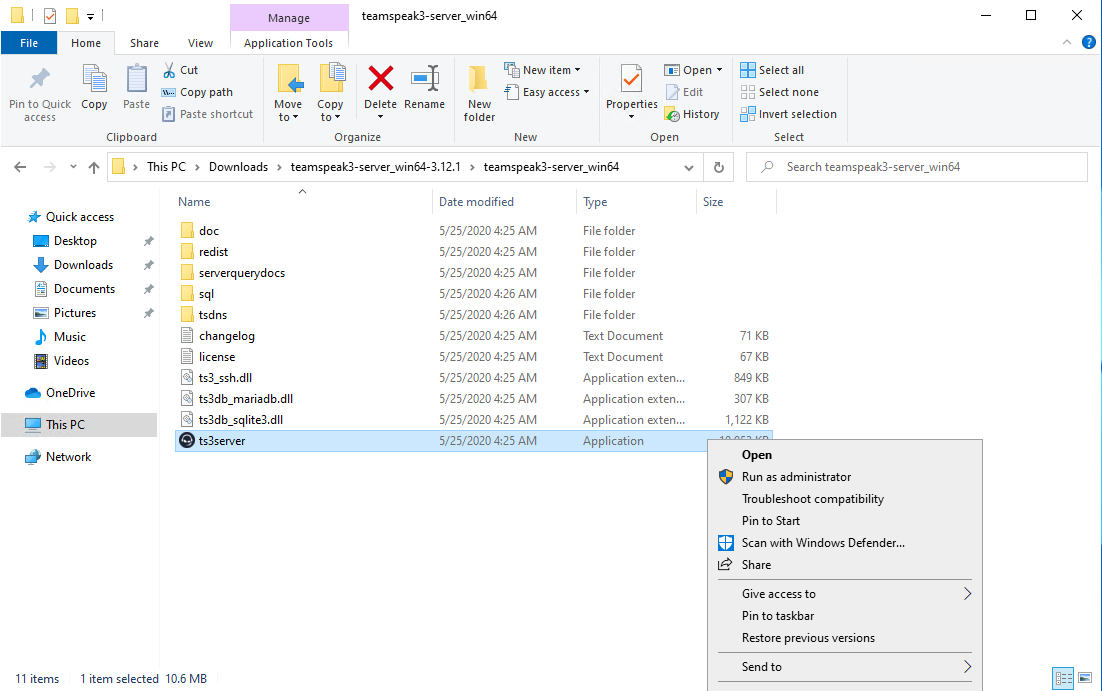
2. Right-click the .exe file called 'ts3server.exe' and run it as an administrator.
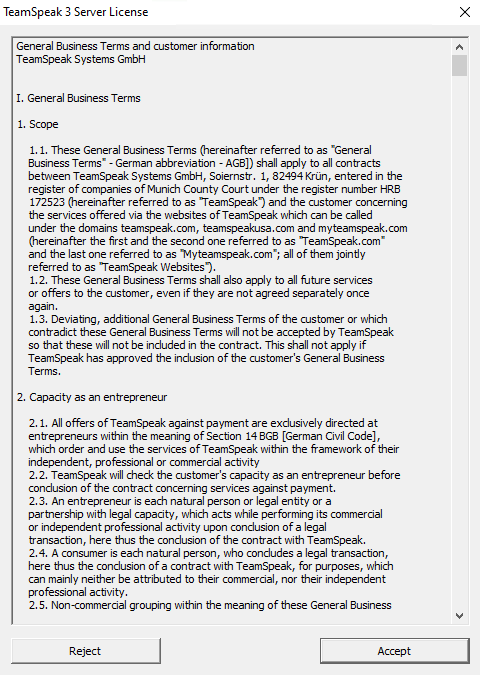
3. Accept the TeamSpeak 3 Server License
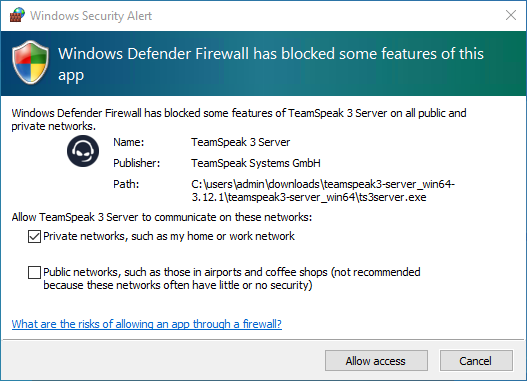
4. Accept the Windows Firewall prompt to allow TeamSpeak to and send traffic properly.
5. Your TeamSpeak 3 server window will launch with your account information. Take note of the Server Query Admin Account login info and Admin Token so that you can use it in the client later.